Please consider making a donation if you find this tutorial useful.
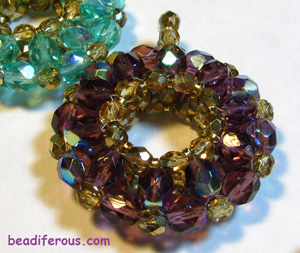
This tutorial describes the steps to make this beautiful beadiferous pendant. The purple beads are 6mm and the gold beadsare 4mm.
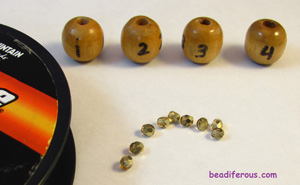
Wooden beads are used for the first few slides because they will be easier to see the steps involved. My choice for stringing material is 6 pound Fireline.
String thefirst 4 beads.
In this tutorial I refer to the base bead in several steps. The base bead is the first bead in each circle of 4. It is the bead that the thread will be going through to complete the circle. The base bead will be different in each circle.
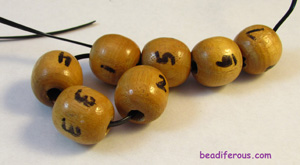
String through the base bead (bead 1) again making a circle with beads 1-2-3-4.
String next 3 beads then back through the base bead (bead 1) making a circle with beads 1-5-6-7.
Continue stringing from bead 1 through beads 5 and 6 in order to position the thread for the next circle. Bead 6 is now the base bead.
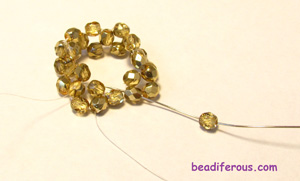
This slide shows where your thread should be exiting bead 6 (the base bead) for the next circle of 4.
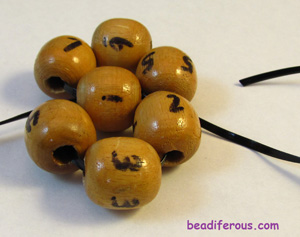
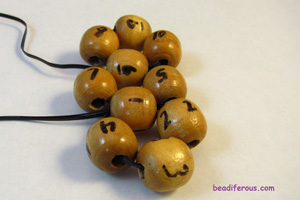
Please note that you now have 3 center beads 3-1-6 and you have 2 sets of outer beads 4-2 and 7-5. This project is based on 10, when complete there will be 10 center beads and 10 sets of outer beads.
Add 3 more beads and string through the base bead (bead #6) making a circle with beads 6-8-9-10.
This slide shows where your thread should be; exiting bead 6.
Continue stringing through beads 8 and 9 positioning the thread through the next base bead (bead 9) for the next circle of 4.
This slide shows where your thread should be.
Add 3 more beads and continue until you have made 9 circles.
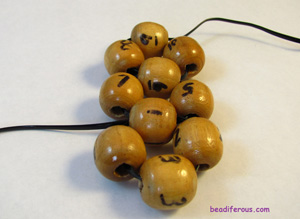
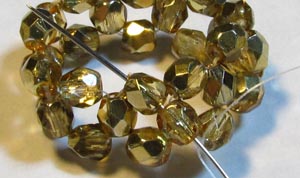
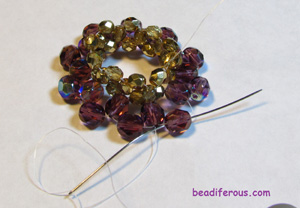
This is what your project should look like at this point. You have 10 center beads and 9 sets of outer beads. Next you will attach the two ends by adding the 10th set of outer beads.
Add a bead, string through the center bead on the other end (bead 3).
Add another bead and string back through the base bead (10th center bead) completing the circle. Tighten.
String through beads until the thread is exiting an outer bead.
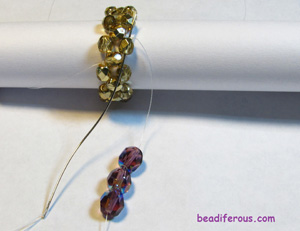
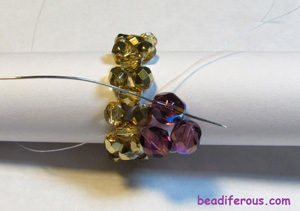
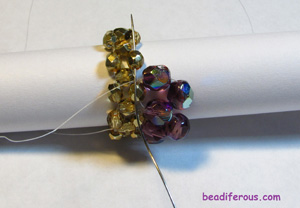
Adding the purple beads issubstantiallythe same process. The gold outer beads will now be referred to as the base beads in each stitch.
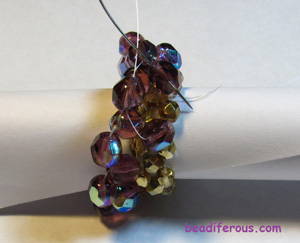
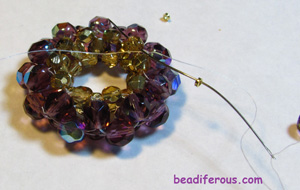
String 3 6mm beads and restring through the base bead.
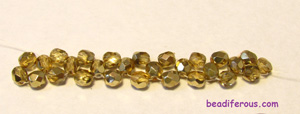
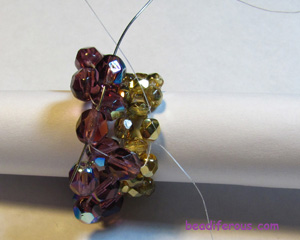
Here is a view of the project at this time.
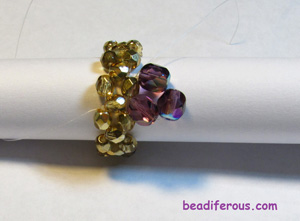
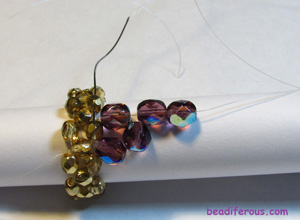
In order to position the thread for the next stitch you will need to string through one purple bead. Tighten.
Add 2 beads and string through the next base bead.
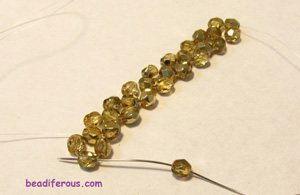
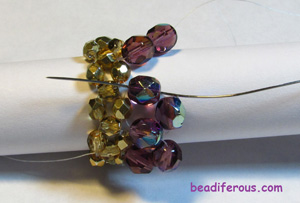
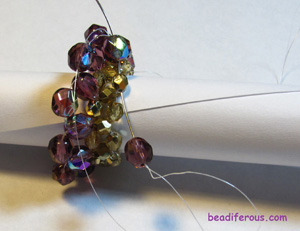
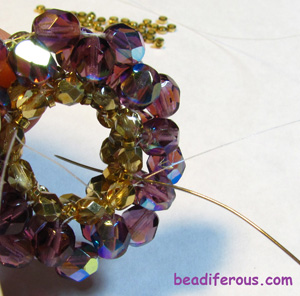
In order to position the thread for the next stitch you will need to stitch through all 3 purple beads just added.
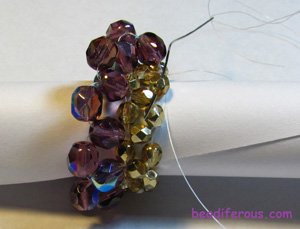
This slide shows the needle exiting the 3rd purple bead.
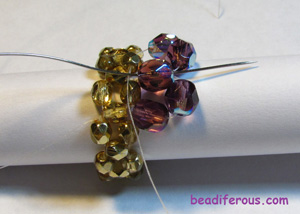
Thread through the next base bead. Now the needle is ready for the next circle. Tighten.
Add 2 more purple beads and string through the center bead from the previous circle.
String through the base bead and through the center bead from the circle just added. Tighten
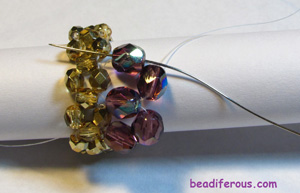
Continue this process until you have made 9 circles.
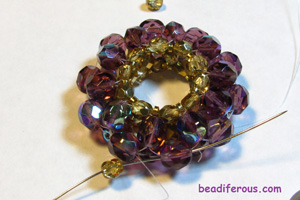
At this point you have 9 circles made from the purple beads. The last circle will be made using the remaining gold base bead, the two end beads and an additional purple bead.
In my example my thread is exiting the center bead on the left.
Add a bead, string through the center bead on the right, string through the base bead, string through the center bead on the left, completing the circle.
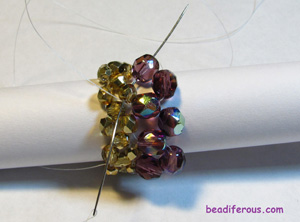
String through the outer bead just added. Tighten.
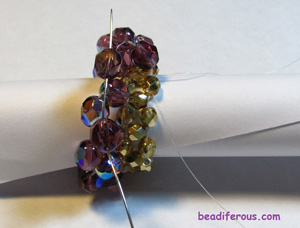
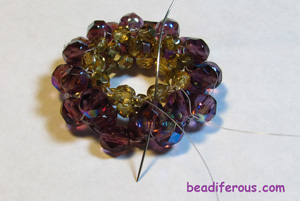
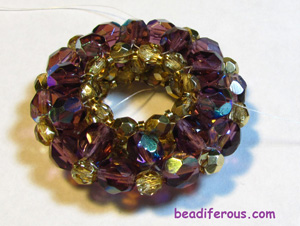
Here is the project at this point. Adding an extra bead in the previous step is very easy to do. Please make sure that you have 10 outer beads in your project as shown here. If you have 11, then you will need to correct your work before proceeding.
The outer beads will now be considered the base beads.
Now we will be creating circles using the outer beads from the purple layer and the gold layer by adding center beads between each.
Add a purple bead and string through the corresponding gold bead.
Add another purple bead and sting back through the base bead completing the first circle. Tighten.
Please note: The project will not be really stiff until the filler beads are added in the final steps.
Continue stringing through the next purple bead in the circle then through the next gold bead.
Add a bead and string through the corresponding base bead.
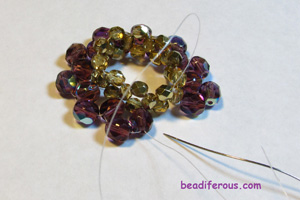
String through the next purple bead (shown), gold bead and purple bead in the circle. String through the next base bead.
Add a center bead, string through gold outer bead, center bead (shown)and back through the base bead.
Continue this process until you have added 10 center beads between the outer purple and outer gold beads.
String through beads until the thread ends meet.
Tie with a surgeon's knot and trim the tail end. DO NOT TRIM THE END WITH THE NEEDLE. You will now add the filler beads. Position the needle exiting an outer gold bead.
Add a gold micro bead between each gold outer bead tightening as you proceed.
When you finish the first side, thread the needle through a center gold bead (shown) to the next side and add the micro beads through the gold outer beads on the other side, tightening as you proceed.
When complete thread the needle through beads until it exits one of the purple outer beads.
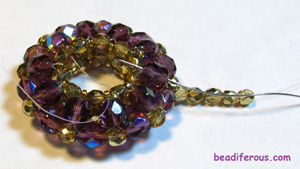
Add a 4mm gold bead between each of the purple outer beads, tightening as you proceed.
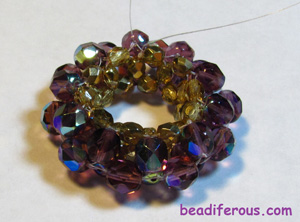
At this point the project should be quite rigid.
The needle should have just exited a purple outer bead. We will now be making the bail. Thread through beads until the thread exits a purple center bead (shown).
Add 5 4mm gold beads and thread through corresponding center bead on the other side of the pendant. Thread through beads and back through the bail several times to strengthen. Tie using a surgeon's knot and cut thread.
Add thependant to a gold chain or create a matching necklace as shown.